Finish your Tasks

The name of the game is Getting Things Done®. This section will teach you how to mark items as complete and explores the optional steps of logging, deleting, and restoring items.


Mark items as complete

Complete standalone actions

To mark an action complete, click the checkbox to the left of the item name.

Complete project actions

Just like above, you can check off project actions individually to track your progress.

Good to know: These will continue to show as Done, even when they are collected to the logbook.

complete actions

Complete projects

You can mark an entire project complete by checking it off. Doing this will also complete all associated actions.

Good to know: If you’ve set completed items to auto-collect to the logbook, the project and its actions will be moved instantly.

Log completed items

Hide done items

Once you complete a project or action, it moves to the Done group within your list. If you’d like to clear up your view, you can:

  • Click Done to hide the group.

OR

  • Move the items to the logbook, where they’ll stay until they’re archived. Don’t worry — after that (14 days in the mobile app and 90 days in the web app for Pro users, 30 days for free users) you still can export your data to get your complete history.

Manually move items to the logbook

Auto-collect items to the logbook

If you’d like your completed items to automatically move to the logbook, just select this option from the settings.

Collect completed project actions to the logbook

Actions that are part of an incomplete project will remain in its Done group even when they are collected to the logbook. This allows you to keep track of all of the actions involved in completing your project.

If you don’t want to see them, click on Done to hide the actions.

Hide the done group.

Once the project is completed, the collected actions will stay in the logbook.

Restore completed items

You can undo a completed action or project. How you restore it depends on the type of item, whether you’re using the web or mobile version of the app, and whether the item has been moved to the Logbook or not. Here are the steps to follow depending on your situation:

Undo a standalone action

If the action is still in the Done group of the list, simple uncheck it from there.

If the action is in the Logbook:

  1. Locate the action in the Logbook and move it to the list where you need it.
  2. The action will be moved to the Done group of that list and you can uncheck it from there.

Undo a project

If the project is still in the Done group of the Projects list, uncheck it, followed by any applicable project actions.

If the project is in the Logbook:

Undo a project action

If the action hasn’t been logged, uncheck the action from the project’s Done group.

If the action has been logged, it will be visible in the project’s Done group until the project itself has been logged.

  1. To access the task, move it from the Logbook to the desired Actions list.
  2. Uncheck it from the Done group of the project or action list.

Delete items

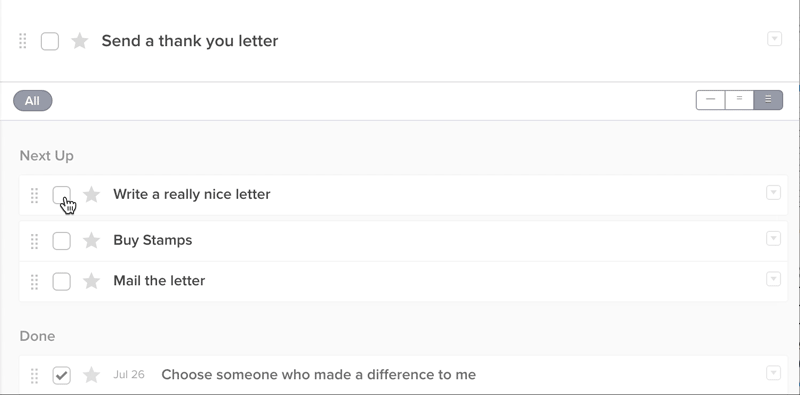
Decide to delete or not

If you don’t want a record of a completed task, or you decide you’re never going to do an action, the trash may be a good place to put it. However, if you want to be able to keep track of past items, it’s worth learning about the logbook. If you think you still might do the action at some point in the future, the Someday list may be useful to you.

Move items to the trash

You can move items to the trash in much the same way you would move them to other lists.

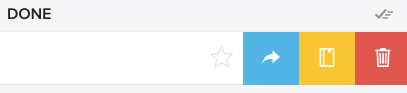
To delete an item using the web app, just drag the item to the trash . If you want to delete multiple items, lasso them first, then drag.

To delete an item using the mobile app, ​swipe the item to the left and tap the red trashcan .

Bring items back from the trash

As long as you haven’t emptied the trash, you’ll still have access to the items stored there. However, the items will no longer be attached to their project, reference list, or state (meaning, for example, scheduled dates will be removed).

To bring them back from the trash using the web app, drag the item to the desired list.

To bring them back using the mobile app, swipe the item to the left, tap the curved arrow and select the desired list.

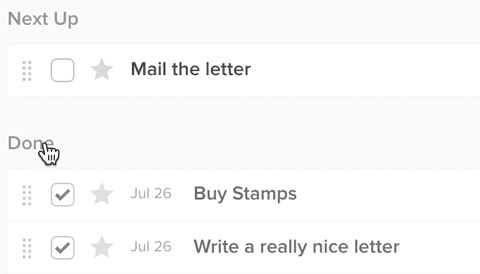
If you completed the item before deleting it, it will appear in the Done group of your chosen list when it is taken out of the trash. From there, you can decide to restore it or bring it to the logbook.

Empty the trash

As mentioned above, your deleted items will stay put until you empty the trash. Once you choose to empty the trash, they won’t be part of any data you export. They will be gone.

To empty the trash, click on the Trash list in the left navigation menu, followed by Empty Trash (near the top-left in the web app and near the bottom in the mobile app).